Wedding Guest Nails : A Complete Guide and
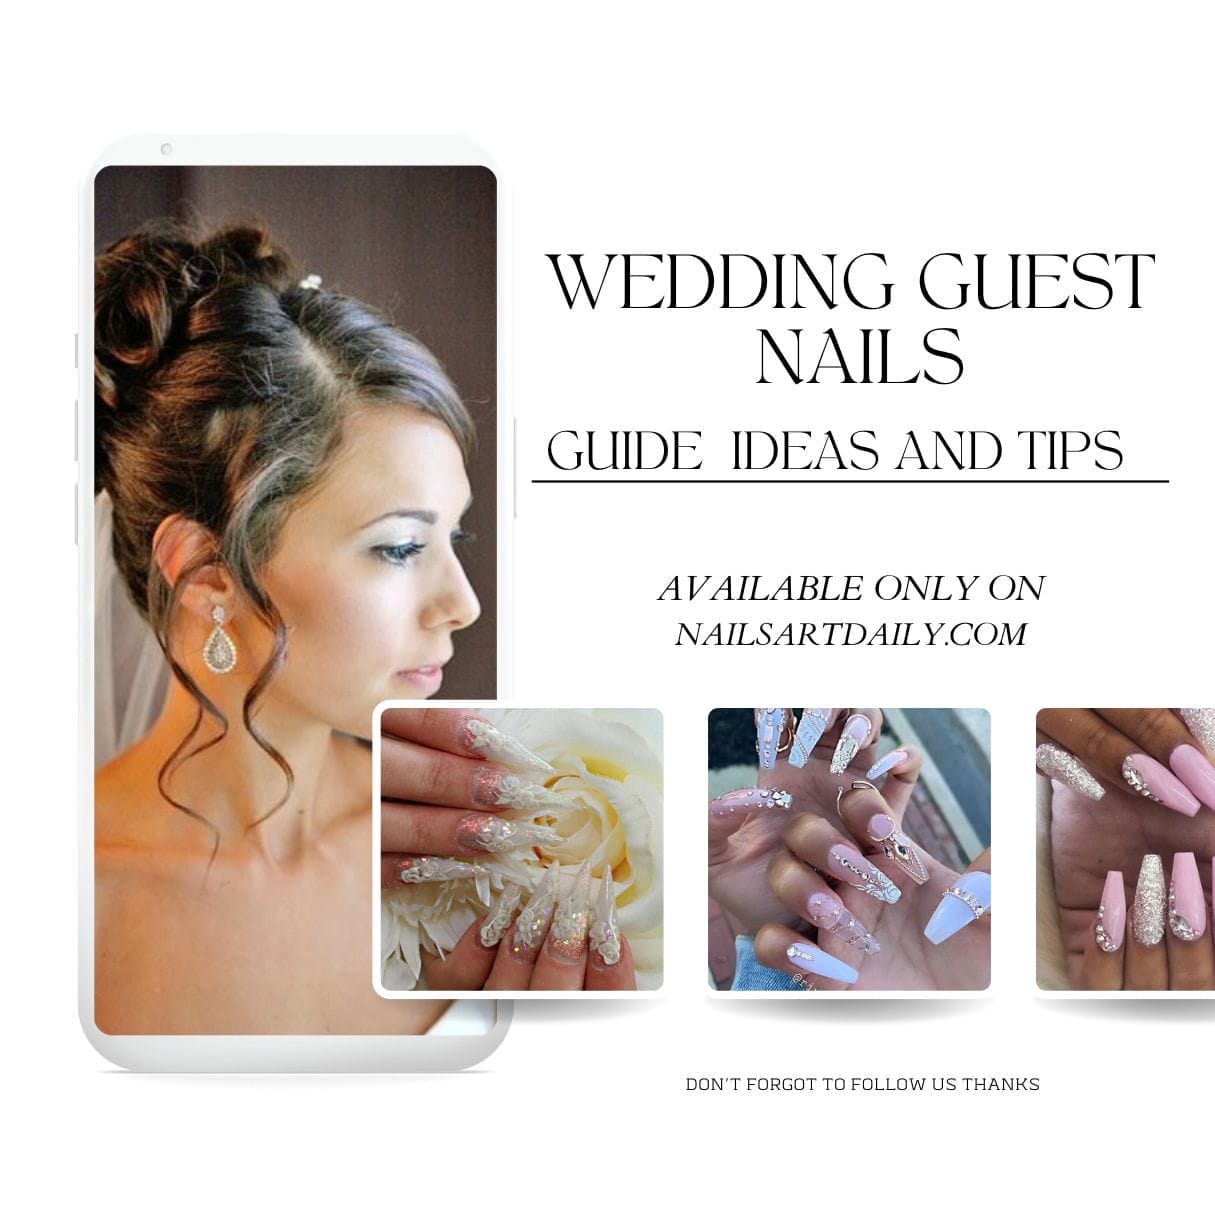
When it comes to weddings, it’s important to remember that every single detail matters, and this extends to taking care of your nails as well. We are excited to present to you the ultimate guide to achieving wedding guest nails, allowing you to effortlessly stand out at any celebration. In this comprehensive article, we’ll delve into the intricacies of selecting the perfect design, materials, and step-by-step process, ensuring your nails are a captivating accessory on your friend’s special day.
Why Choose Wedding Guest Nails?
Before we dive into the nitty-gritty of creating the perfect wedding guest nails, let’s explore why they’re a crucial element. Wedding guest nails are not just about complementing your outfit; they are an extension of your personal style, a statement of your attention to detail. Choosing the right design can elevate your entire look, making you feel confident and ready to celebrate.
How to Get These “Wedding Guest Nails”
Materials Needed:
To embark on this nail transformation journey, gather the following materials:
- Quality nail polish in desired colors
- Nail art brushes
- Nail gems or rhinestones
- Clear topcoat
- Nail glue
- Nail file
- Base coat
Step-by-Step Process:
- Prep Your Nails: Start with clean, trimmed nails. Apply a base coat to protect your natural nails.
- Choose Your Colors: Select the main colors for your design. Wedding-themed colors like pastels or metallic work well.
- Create the Base: Apply your chosen polish as the base. Allow it to dry completely.
- Add Designs: Use nail art brushes to add intricate designs. From lace patterns to floral accents, let your creativity flow.
- Embellish with Gems: Carefully place gems or rhinestones on your nails, securing them with nail glue.
- Top It Off: Seal your masterpiece with a clear topcoat for a lasting finish.
Design and ideas for wedding nails:
1-French Wedding guest Nails

2-Nude and Glitter Wedding Nails

3-Classic Neutral Guest Nails

4-Metallic tips Wedding Nails

5-Diamond Accent Nails

6-short Nails for wedding event

7-Sparkly Wedding nails

8-Marble glitter nails

9-Floral glitter pink nails

10-Pretty with Pink Hearts nails

11-Pink & silver glitter nails

12-Almond Drop Dot Nails

13-Pastel Rainbow nails

14-Classic White Heart event Nails
15-Matte pink and white glitter Nails

16-Golden Heart Wedding guest nails

17-Artistic White Heart wedding Nail Art

18-Classic white Wedding nail design

19-Elegant Coffin Wedding nail design

20-Simple Wedding gold strips Coffin Nails

Top 10 nail Art for Wedding Guest Nails with tips
- Classic French Tips
- Material: White nail polish
- Step-by-Step: Achieve the perfect smile line with a nail guide. Apply white polish to the tips.
Unique Tips and Variations:
- Experiment with colored tips for a modern twist.
- Romantic Rose Accents
- Material: Pink and green nail polish
- Step-by-Step: Create small roses using a dotting tool. Add leaves for a touch of elegance.
Unique Tips and Variations:
- Use pastel shades for a softer look.
- Glittery Gold Elegance
- Material: Gold glitter polish
- Step-by-Step: Apply gold glitter polish as an accent or create a dazzling full-nail effect.
Unique Tips and Variations:
- Mix gold with a contrasting color for added flair.
- Chic Marble Designs
- Material: White and gray polish
- Step-by-Step: Create a marble effect using a watercolor technique with white and gray polish.
Unique Tips and Variations:
- Add gold foil for a luxurious touch.
- Whimsical Floral Fantasy
- Material: Various floral-colored polishes
- Step-by-Step: Paint delicate flowers on a pastel base for a whimsical look.
Unique Tips and Variations:
- Incorporate tiny rhinestones as flower centers.
- Boho-Inspired Dreamcatcher
- Material: Earth-toned polishes
- Step-by-Step: Draw dreamcatcher details on a neutral base, adding feathers and beads.
Unique Tips and Variations:
- Experiment with different dreamcatcher designs.
- Regal Metallic Accents
- Material: Metallic silver or gold polish
- Step-by-Step: Apply metallic polish as an accent on one or two nails.
Unique Tips and Variations:
- Create geometric patterns for a modern touch.
- Glamorous Glitter Gradient
- Material: Glitter polish in various shades
- Step-by-Step: Achieve a gradient effect by layering glitter polish from the tips towards the base.
Unique Tips and Variations:
- Mix holographic glitter for added sparkle.
- Elegant Lace Details
- Material: White or nude polish
- Step-by-Step: Use nail stickers or fine brushes to create lace patterns.
Unique Tips and Variations:
- Combine lace with a bold accent color.
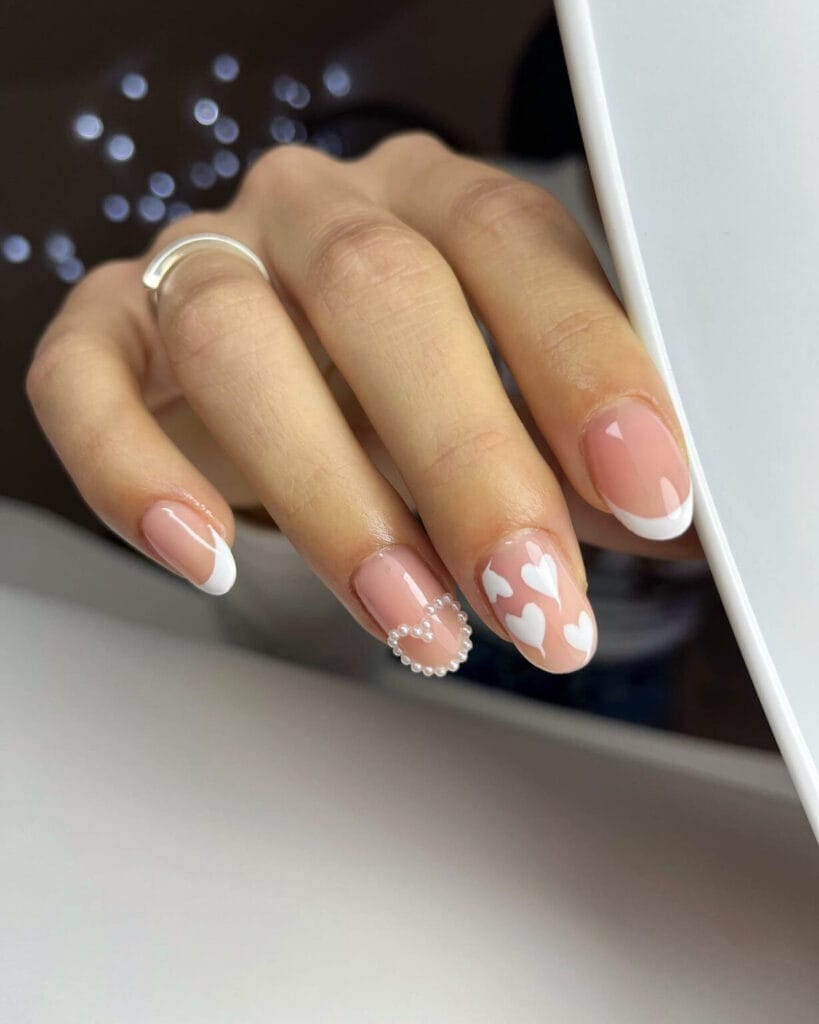
- Cute Heart Embellishments
- Material: Red and white polish
- Step-by-Step: Paint hearts on a contrasting base for a sweet and romantic look.
Unique Tips and Variations:
- Add tiny pearls for a 3D effect.
Pros and Cons–Wedding nails
| Pros | Cons |
| Diverse design options for individual style | Time-consuming process |
| Expresses creativity and personal flair | Requires some skill and practice |
| Customizable to match wedding themes | May chip or wear over time |
| Adds a unique touch to your overall look | Certain designs may be challenging for beginners |
| Long-lasting with proper care | Professional nail artists may be costly |
Summary of wedding nails
In conclusion, mastering the art of wedding guest nails opens a world of creative expression. Whether you opt for timeless classics or venture into bold, avant-garde designs, your nails can be the pièce de résistance of your wedding ensemble. So, let your creativity shine, and be the talk of the celebration with nails that steal the show.
FAQs – Wedding guest nails
-
The time varies based on complexity but plan for 1–2 hours.
-
Absolutely! With practice, you can achieve salon-quality results. But need guidance.
-
No, if applied and removed properly, they won’t harm your nails.
-
Easily fix mistakes with a cotton swab dipped in polish remover.
-
Apply a topcoat every few days and avoid harsh chemicals.