Black Marble Nails: Nailing the Art of Luxury
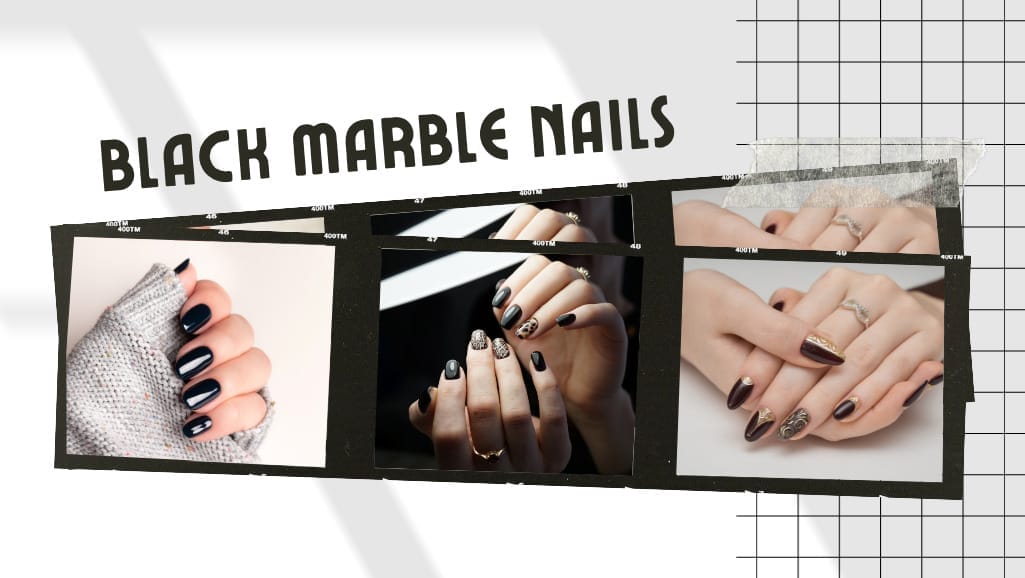
Imagine having nails that command attention, exhibiting an aura of sophistication and charm, reminiscent of luxurious black marble. In this comprehensive guide, we will delve into the mesmerizing world of black marble nails. We will discuss why black marble nails are a fascinating choice, how to create this exquisite look step by step, explore a variety of design options, and address common questions about this nail art trend.
Why We Choose Black Marble Nails?
More than just a fad, black marble nails are a representation of beauty and elegance. They are the perfect option for any event because of their classic appeal. Consider these reasons before getting black marble nails:
• Uniqueness: The striking combination of refinement and boldness that these nails give makes you stand out in any crowd.
• Versatility: From formal attire to laid-back ensembles, the captivating swirls and patterns go well with anything.
• Conversation Starter: Highlight your outstanding style and serve as more than just a fashion statement.
How to Get These Stunning Nails?
Achieving these designed marble nails is an exciting creative process. To attain this stunning look, you’ll need some essential materials and follow a step-by-step guide. Here’s a detailed explanation:
Materials:
- Black nail polish
- White nail polish
- Clear topcoat
- Nail art brush or toothpick
- A small container with water
- Nail polish remover
- Cotton swabs
Step-by-Step Process:
- Begin by applying a base coat to protect your natural nails.
- Paint your nails with black nail polish as the base color and allow it to dry thoroughly.
- In a small container filled with water, add a few drops of white nail polish to create a marbled pattern.
- Use a nail art brush or a toothpick to swirl the white polish in the water, creating the marble effect.
- Dip your painted nails into the water, allowing the marbled design to transfer onto your nails.
- After taking your fingers out of the water with care, clean up any extra polish around your nails using cotton swabs and nail paint remover.
- Once the marble design is dry, apply a clear topcoat to seal and protect your elegant black marble nails.
Black marble nail design Suggestions
1. Black Marble with Gold Glitter Nails

2-Black short Marble Nails with Gold Foil

3-Black Marble nails with White Accent

4-Long Black Marble Nails with Gold Flakes

5-Elegant Black Marble nails

6-Messy Black Marble Nails

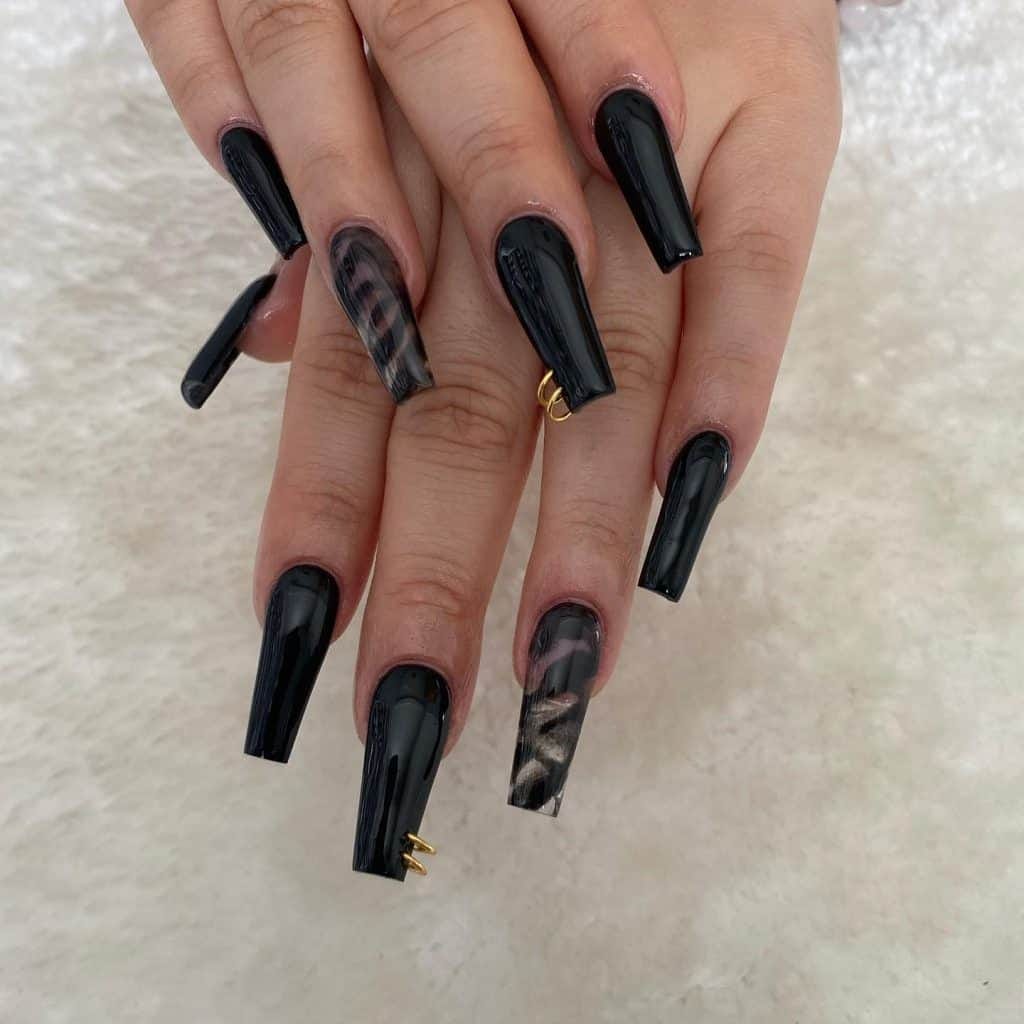
7-Black Marble Nails with Piercings
8-Abstract Black Marble Design nails

9-A Touch of Black Marble tip nails

10-Fancy Black short marble nails Design

11-Almond Black Marble nails

12-silver and black marble nails

13-round black marble nails

14-Smoky Black Marble nails

15-Black Marble nails with Rhinestones

16-Night Sky Black Marble nails

17-Glittery Black Marble nails

18-Black Marble Almonds nails with gems

19-Black Marble with Starry Accent nails

20-Classy short Black Marble nails Design with glitter

21-Nude black Marble Nails

Best Designs for Black Marble Nails Material and Guide
- Classic Swirls Materials: Gold nail polish Step-by-Step Guide: Add gold accents to your black marble nails for a timeless and luxurious look.
- Midnight Galaxy Materials: Silver glitter nail polish Step-by-Step Guide: Elevate your black marble nails with a touch of silver glitter, creating a cosmic effect.
- Rose Gold Elegance Materials: Rose gold nail foil Step-by-Step Guide: Apply rose gold foil to add a touch of opulence to your black marble nails.
- Ocean Breeze Materials: Blue and green nail polish Step-by-Step Guide: Incorporate shades of blue and green for a tranquil ocean-inspired design.
- Gothic Glamour Materials: Matte black nail polish Step-by-Step Guide: Embrace a dark and mysterious twist on black marble nails by using matte black polish.
- Golden Veins Materials: Gold nail art pen Step-by-Step Guide: Infuse your black marble nails with intricate golden veins for a lavish and regal appearance.
- Pastel Dreams Materials: Pastel-colored nail polish Step-by-Step Guide: Capture a soft and dreamy vibe with pastel hues combined with the classic black marble pattern, perfect for spring.
- Monochrome Magic Materials: Black and white nail polish Step-by-Step Guide: Create a striking high-contrast black and white design for a modern and edgy style.
Conclusion
Represent the epitome of sophistication and artistic expression. With the plethora of design options available, you can transform your nails into a canvas of elegance and creativity. Whether you prefer a timeless classic, a touch of opulence, or a bold modern style, black marble nails are versatile and captivating. Accept this alluring trend, let your nails become an artistic creation, and enjoy the attention and praise they will surely garner. The stunning elegance of black marble nails will elevate your look and leave a lasting impression.
FAQs of black marble nails

When properly cared for and with the application of a durable topcoat, black marble nails can maintain their allure for up to two weeks.
You can absolutely create stunning black marble nails in the comfort of your own home by following our step-by-step guide. It’s a fun and creative DIY project.
Nail decals and stickers can be an excellent addition to your black marble nail design, allowing for intricate details and unique patterns. Apply them before adding the topcoat for a seamless look.